Connecting to Netlify
Step 1: Add Your New Site
 Creating a new site on Netlify is simple. Once you've logged in, you'll be taken to https://app.netlify.com/sites. If you're just starting out, there's only one option.
Step 2: Link to Your GitHub
Clicking "New Site" brings you to this screen:

When you push to GitHub, Netlify does all the work. No more manual deploying of updates or changes!
Since your assets are hosted on GitHub, we'll need to link Netlify to GitHub. Click "Link to Github".
Step 3: Authorize Netlify

It's time to allow Netlify and GitHub to talk to each other. Clicking the "Authorize Application" button will do just that. Like it says in the image below, Netlify doesn't store your GitHub access token on our servers. If you'd like to know more about the permissions Netlify requests and why we need them, you can visit https://docs.netlify.com/github-permissions/.
Step 4: Choose Your Repo
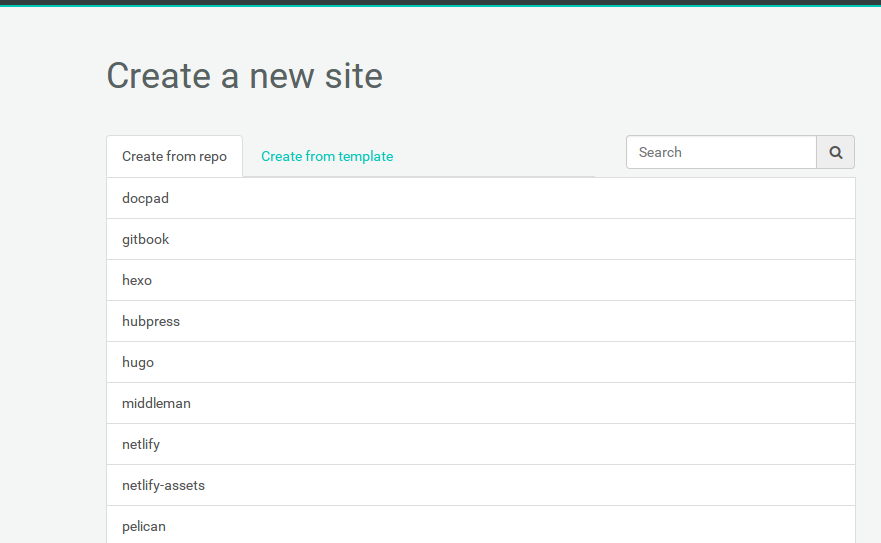
Now that you've connected Netlify and GitHub, you can see a list of your Git repos. There's the "gitbook" repo we just pushed to GitHub. Let's select it.
Step 5: Configure Your Settings
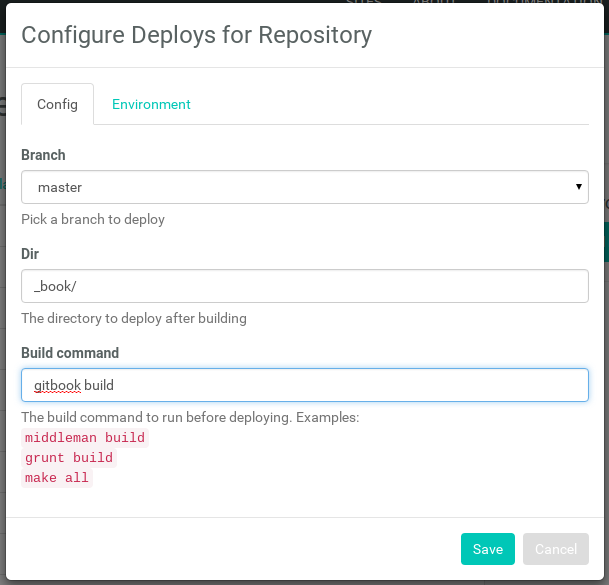
Here you can configure your options. Make sure your settings are the same as above, then click "Save".
Step 6: Build Your Site

Now it's time to sit back and relax. Go grab something cold to drink, scratch the dog behind the ears, or just get up and walk around (you've probably been in front of the computer for too long today, right?). Netlify will do the rest, and you can watch the progress.
Step 7: Done
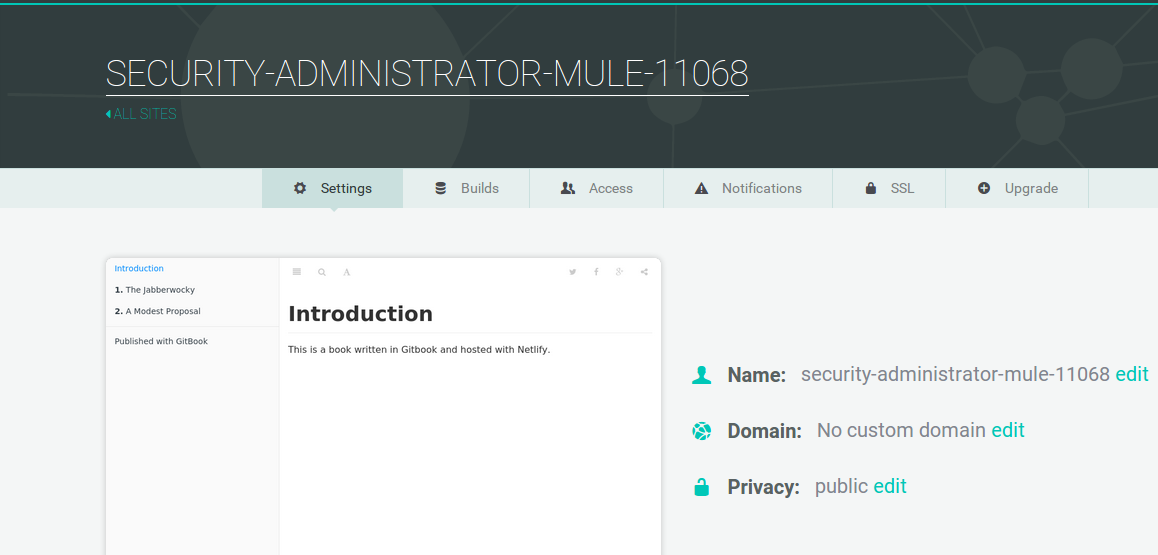
Wait, you thought there was going to be more? Nope! Netlify has done it all for you, including giving your site a temporary name. Let's make it look a little prettier:
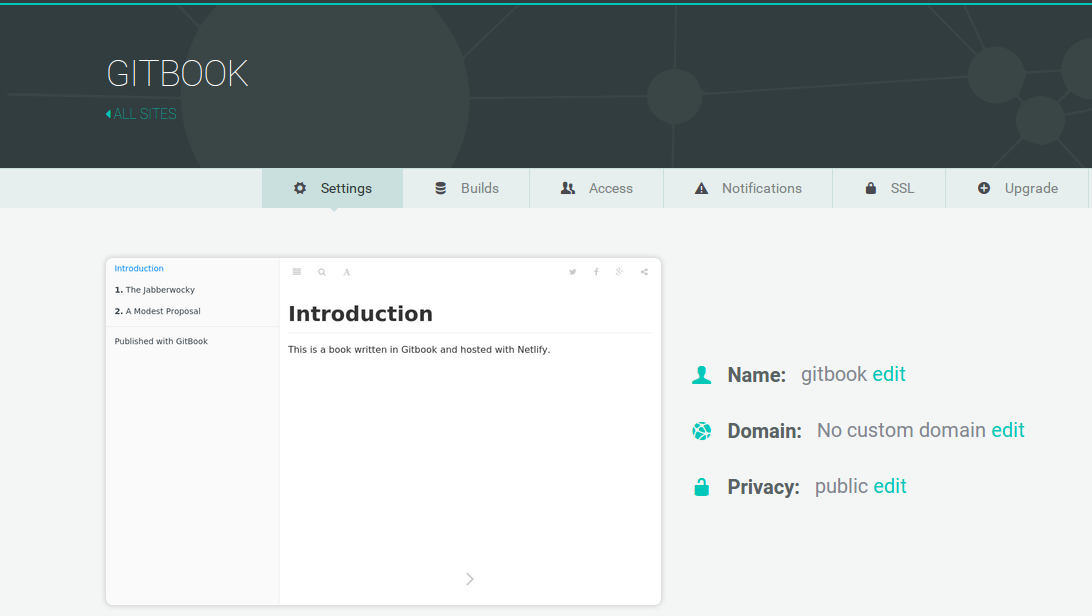
There, that's better. Now you can add your custom domain, and your site will be live for your adoring public to view. Congratulations, and thanks for using Netlify!